Airsoft Canada
https://blackblitzairsoft.myshopify.com/

Go Back   Airsoft Canada > Discussion > Upgrades & Modifications
Home Forums Register Gallery FAQ Calendar
Retailers Community News/Info International Retailers IRC Today's Posts

G&G M4 Lower receiver disassembly?

:

Upgrades & Modifications

Reply
 
Thread Tools
Old May 20th, 2010, 20:56   #1
Doktor
 
Doktor's Avatar
 
Join Date: Apr 2009
Location: Montreal
G&G M4 Lower receiver disassembly?

Hey all.
I tried using the search to find a thread with instructions but nothing came up.

Can anyone post a link to a guide for disassembling a G&G M4. I need to remove my Cansoft Clear receiver and install my metal one and can't seem to figure it out on my own.

How do I remove the cylinder that the butt-stock slides over?

Im a total noob, and have never done this before. All help is appreciated.
Noob-bashing is exepcted.


-Doktor
CANAM Surplus
Montreal

Last edited by Doktor; May 20th, 2010 at 21:41..
Doktor is offline   Reply With Quote
Old May 20th, 2010, 21:24   #2
The Chad
formerly LoveMyStubby
 
The Chad's Avatar
 
Join Date: Dec 2008
Location: SW ON
Hey....so here is the regular procedure for armalites that are not SRC.

Take the two body pins out (front and back)

Crack the body making sure you are not damaging the wires (front or rear wired)

If rear wired, the upper should be completely free of the lower. If front wired you may want a steady solid surface to rest it on so there is no stress on the wiring.

Remove the stock from the buffer tube if crane stock. Can be tricky and may require some force. Once the butt is removed from the stock, there will be a screw to remove the buffer tube cap. After the cap is removed, the screw will be exposed at the other end of the buffer tube. Remove this screw.

If full stock, simply remove the screw parallel to the cylinder.


Now that the Upper and the stock are completely removed, you may take the pistol grip off by removing the plate under the grip.

Remove the Black and Red leads from the motor terminals and remove the motor. (Be careful not to lose the spacer washer that is on top of the motor.)

Once the motor is removed, there should be two screws that hold the pistol grip to the gearbox. Remove them.

Now that the pistol grip, stock, and upper are completely removed, you can now take off the magazine release assembly.

After taking off the mag release, take the final, small body pin out. (Near the middle of the gearbox.)

Taking the gearbox out may be tricky. You may need to pursuade it by pulling the cylinder housing back and forward to wiggle it out.


Please, anyone, if I left something out or am wrong about something, please feel free to correct.
__________________
Quote:
Originally Posted by BennyBoy View Post
If you were trying to insert a magazine into another magazine then I guess that would be indeed ghey. Inserting a magazine in a magwell seems rather hetero to me. The tape is merely metro, calling it ghey is rather absurd and makes it hard for the metro magazines to socialize with other magazines.
The Chad is offline   Reply With Quote
Old May 20th, 2010, 21:26   #3
Boyso
a.k.a. LastSpartan
 
Boyso's Avatar
 
Join Date: Jul 2009
Location: Québec city
Send a message via MSN to Boyso
To complete with Stubby,


http://www.mechbox.com/m4m16/m733-disassembly.html
__________________
NEW BACON FOR SALE!

"WHEN I DIE
BURY ME
UPSIDE DOWN
SO THE WORLD
CAN KISS MY ASS"
-Platoon

Boyso is offline   Reply With Quote
Old May 20th, 2010, 21:32   #4
The Chad
formerly LoveMyStubby
 
The Chad's Avatar
 
Join Date: Dec 2008
Location: SW ON
can you tell who IS bored at work?


I am, I am!!!!
__________________
Quote:
Originally Posted by BennyBoy View Post
If you were trying to insert a magazine into another magazine then I guess that would be indeed ghey. Inserting a magazine in a magwell seems rather hetero to me. The tape is merely metro, calling it ghey is rather absurd and makes it hard for the metro magazines to socialize with other magazines.
The Chad is offline   Reply With Quote
Old May 20th, 2010, 21:34   #5
Boyso
a.k.a. LastSpartan
 
Boyso's Avatar
 
Join Date: Jul 2009
Location: Québec city
Send a message via MSN to Boyso
Just to add also, put your selector switch on semi, helps when trying to remove it from the body.
__________________
NEW BACON FOR SALE!

"WHEN I DIE
BURY ME
UPSIDE DOWN
SO THE WORLD
CAN KISS MY ASS"
-Platoon

Boyso is offline   Reply With Quote
Old May 20th, 2010, 21:40   #6
Doktor
 
Doktor's Avatar
 
Join Date: Apr 2009
Location: Montreal
Thank you very much for the info.
The link to the video is very helpful.
Im going to put this off till tomorrow. Its for work. We sell AEGs and GBB Pistols and we just ordered the new Metal G&Gs which are just the old ones with an extra metal receiver. *SIGH*

Really disappointed that they didn't come pre-assembled.
Again, thanks guys.

Doktor
CANAM Surplus
Montreal
Doktor is offline   Reply With Quote
Old May 20th, 2010, 22:01   #7
The Chad
formerly LoveMyStubby
 
The Chad's Avatar
 
Join Date: Dec 2008
Location: SW ON
Quote:
Originally Posted by LastSpartan View Post
Just to add also, put your selector switch on semi, helps when trying to remove it from the body.
Good point, can't remember if I did that or not. Best to be proactive though.
__________________
Quote:
Originally Posted by BennyBoy View Post
If you were trying to insert a magazine into another magazine then I guess that would be indeed ghey. Inserting a magazine in a magwell seems rather hetero to me. The tape is merely metro, calling it ghey is rather absurd and makes it hard for the metro magazines to socialize with other magazines.
The Chad is offline   Reply With Quote
Old September 13th, 2010, 16:25   #8
LightBulb
 
LightBulb's Avatar
 
Join Date: Dec 2009
Location: Mississauga
Putting the back body pin was a pain in the ass for me. Had to do a little bit of modifications to the body.

Last edited by LightBulb; September 13th, 2010 at 17:07..
LightBulb is offline   Reply With Quote
Old September 13th, 2010, 19:19   #9
BobbyDangerous
 
BobbyDangerous's Avatar
 
Join Date: Mar 2010
Location: Oshawa
http://www.guay2.com/

Click ON Maintenance.. Then click on the model...
__________________
-Dangerous-

BA Level 3 Certified
BobbyDangerous is offline   Reply With Quote
Old September 13th, 2010, 20:02   #10
scurvythepirate
 
scurvythepirate's Avatar
 
Join Date: Nov 2007
Location: Kelowna,BC
Quote:
Originally Posted by LightBulb View Post
Putting the back body pin was a pain in the ass for me. Had to do a little bit of modifications to the body.
Really? when i disassembled my G&G the back pin comes out with a little tap and when placing it back in the AEG, it goes in smoothly, no problems.

What do you mean by "modifications"?
__________________
scurvythepirate is offline   Reply With Quote
Old September 13th, 2010, 20:15   #11
Boyso
a.k.a. LastSpartan
 
Boyso's Avatar
 
Join Date: Jul 2009
Location: Québec city
Send a message via MSN to Boyso
Quote:
Originally Posted by LightBulb View Post
Putting the back body pin was a pain in the ass for me. Had to do a little bit of modifications to the body.
You're doing it wrong.

I found it that with my plastic body, if I tighten the screws in the grip too much, it would distort the body slightly, thus giving me a hard time with the rear pin. (Using a MIAD grip)

If it's your case, loosen these screws, put the selector on auto (make sure you didn't forget the pin in the GB) and the rear pin should slide in with no effort.
__________________
NEW BACON FOR SALE!

"WHEN I DIE
BURY ME
UPSIDE DOWN
SO THE WORLD
CAN KISS MY ASS"
-Platoon

Boyso is offline   Reply With Quote
Old September 14th, 2010, 20:32   #12
LightBulb
 
LightBulb's Avatar
 
Join Date: Dec 2009
Location: Mississauga
Quote:
Originally Posted by scurvythepirate View Post
Really? when i disassembled my G&G the back pin comes out with a little tap and when placing it back in the AEG, it goes in smoothly, no problems.

What do you mean by "modifications"?
Quote:
Originally Posted by LastSpartan View Post
You're doing it wrong.

I found it that with my plastic body, if I tighten the screws in the grip too much, it would distort the body slightly, thus giving me a hard time with the rear pin. (Using a MIAD grip)

If it's your case, loosen these screws, put the selector on auto (make sure you didn't forget the pin in the GB) and the rear pin should slide in with no effort.
The pin fits inside the entrance, and through the body (the side with the forward assist and dust cover), but on the side with the selector, it won't come out. The hole itself is too small for the pin. The exit hole has a indented small ring which stops the pin from exiting. So the modifications I had done to it was basically chiseling and filing.

I highlighted the metal stopping the pin from going in with yellow. It was a perfect circle too, so I don't think it was just a little bit of extra metal. Basically if the yellow wasn't there. My pin would fit in perfectly.

LightBulb is offline   Reply With Quote
Old September 20th, 2010, 22:26   #13
BobbyDangerous
 
BobbyDangerous's Avatar
 
Join Date: Mar 2010
Location: Oshawa
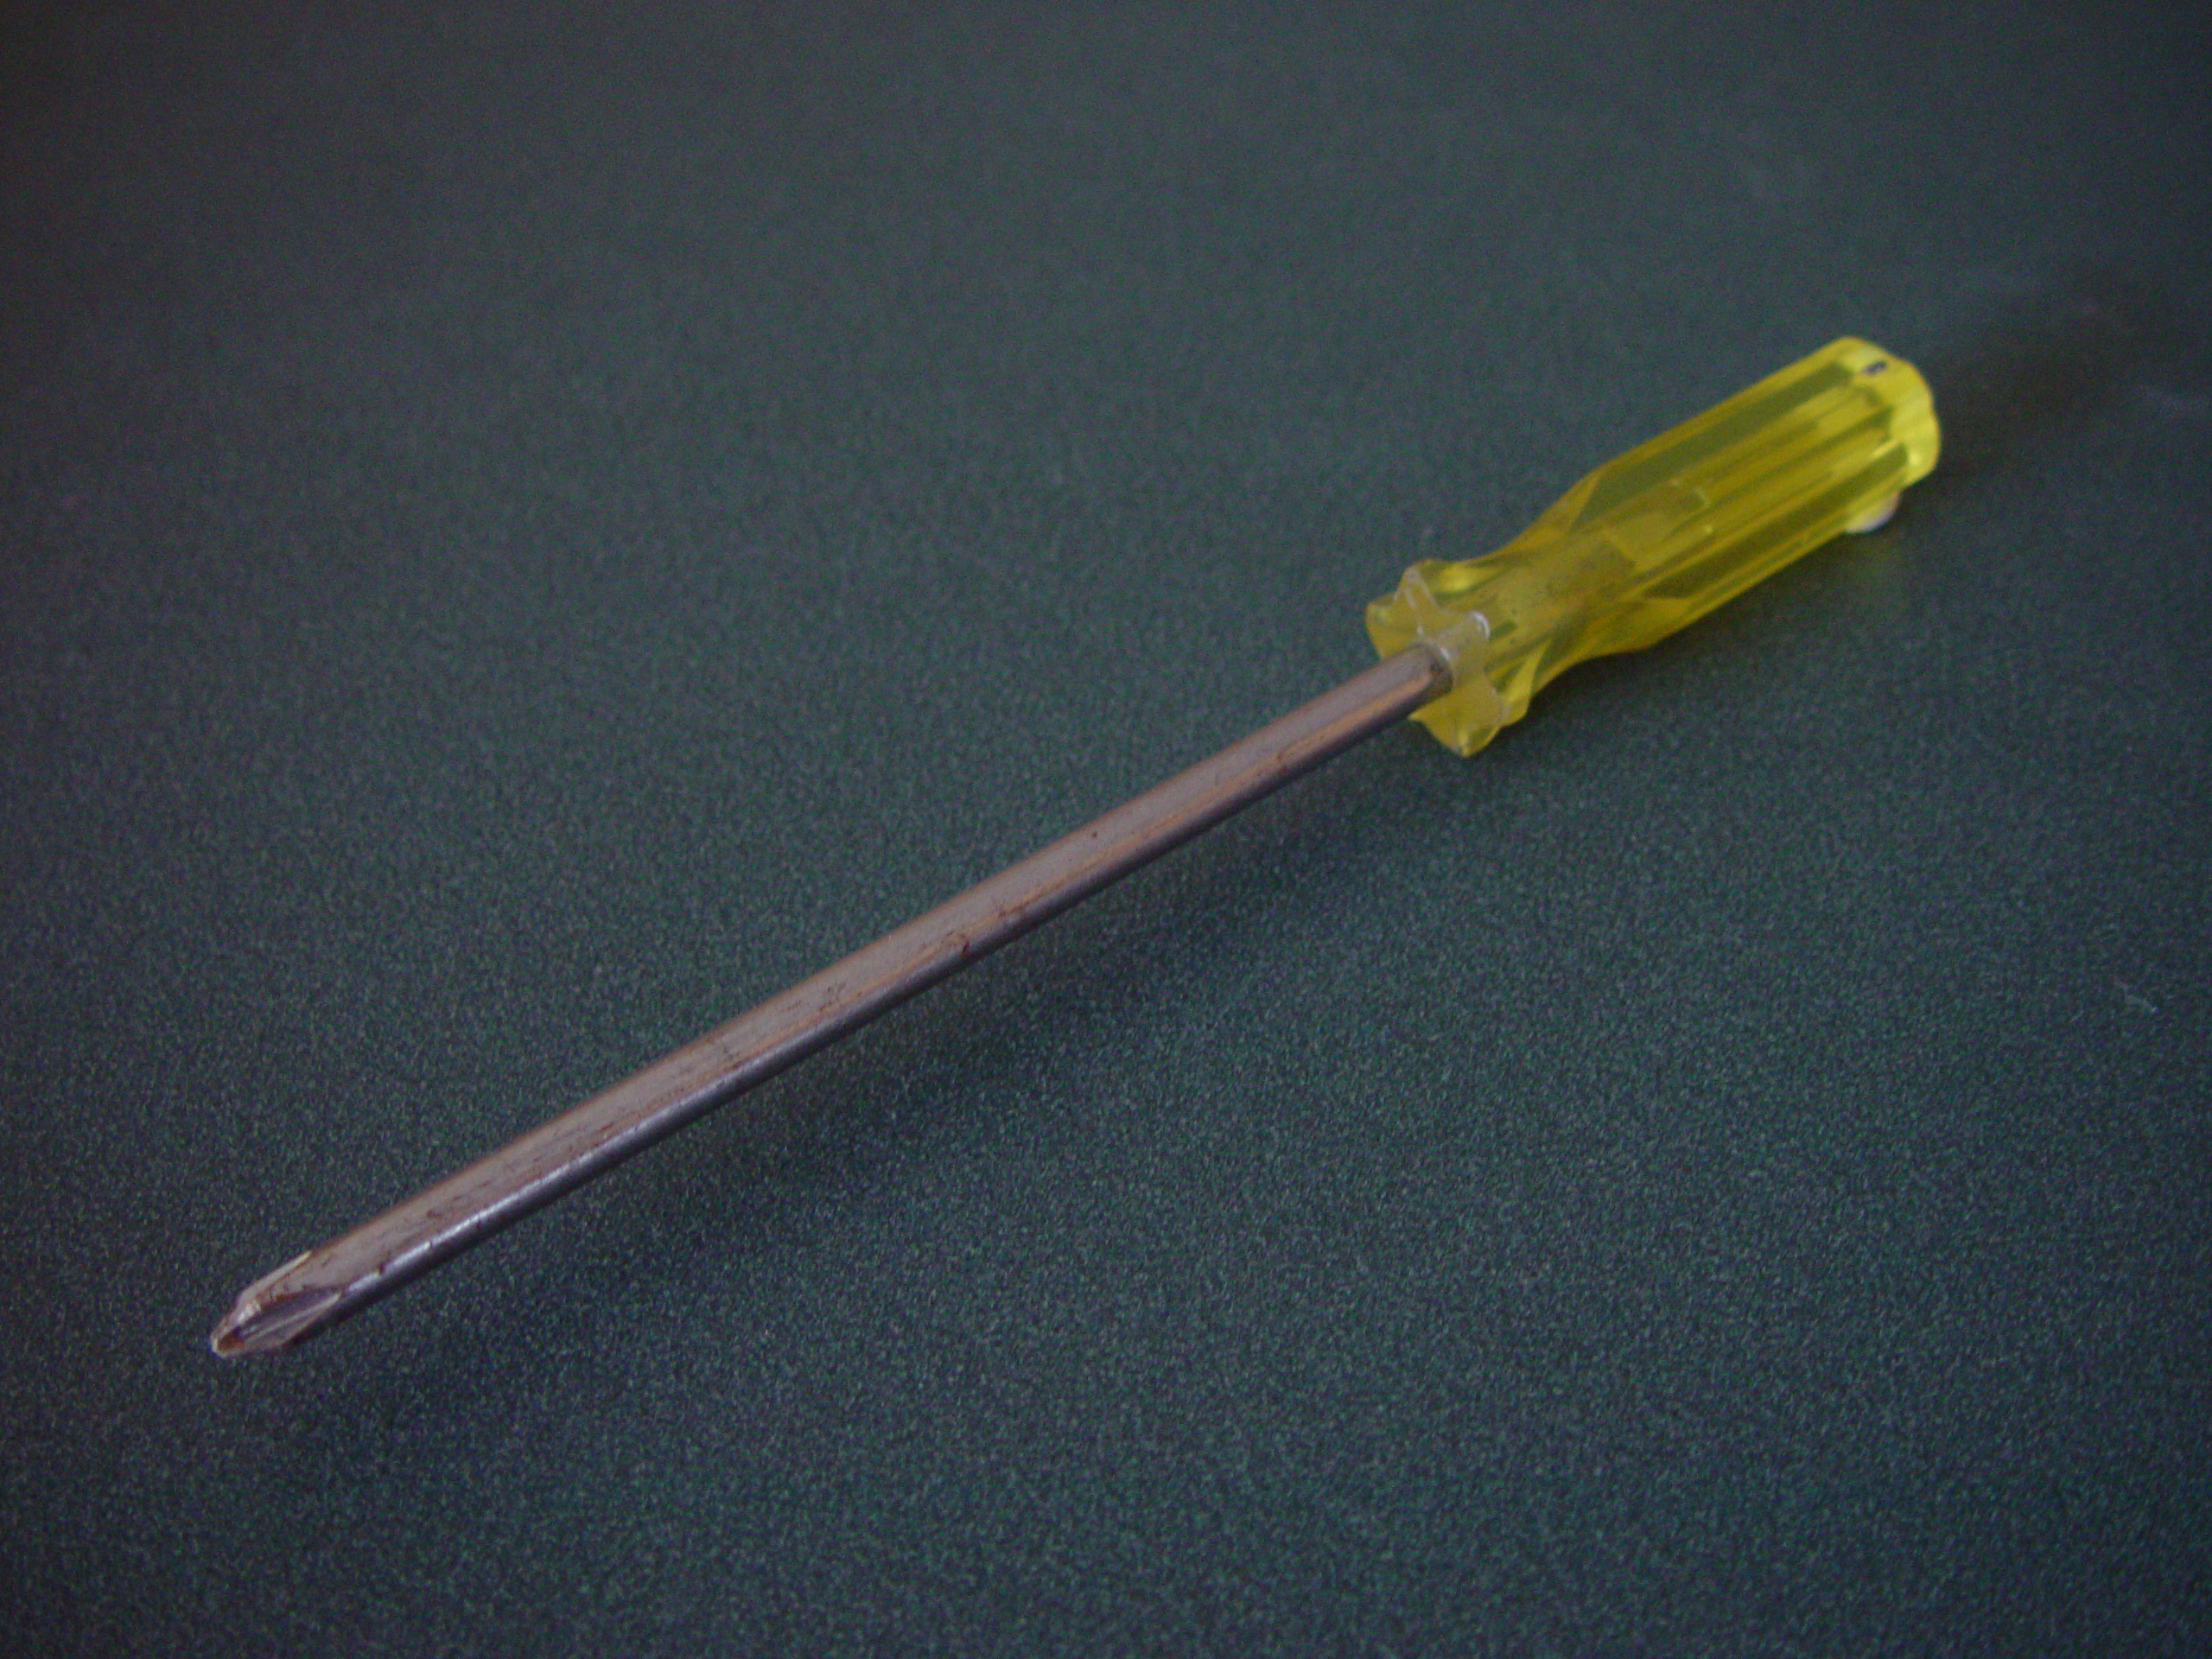
You need these tools


^^^
Best if magnetic


If you need to do modifications thats bad.. I can take mine apart with ease now. It was a little harsh the first time where it almost sounded like it was going to crack but it's fine..
__________________
-Dangerous-

BA Level 3 Certified
BobbyDangerous is offline   Reply With Quote
ReplyTop


Go Back   Airsoft Canada > Discussion > Upgrades & Modifications

Bookmarks


Posting Rules
You may not post new threads
You may not post replies
You may not post attachments
You may not edit your posts

BB code is On
Smilies are On
[IMG] code is On
HTML code is Off


Airsoft Canada
https://blackblitzairsoft.myshopify.com/

All times are GMT -4. The time now is 01:48.


Powered by vBulletin® Version 3.8.11
Copyright ©2000 - 2025, vBulletin Solutions Inc.