
|
|
|
||||||||
|
|
|||||||||
| Home | Forums | Register | Gallery | FAQ | Calendar |
| Retailers | Community | News/Info | International Retailers | IRC | Today's Posts |
 |
|
|
Thread Tools |
|
|
#1 |
|
Buffer tube wobble
Just installed a g&p cranestock, new buffer tube, and sling mount. The buffer tube itself seems to wobble quite a bit, any advice?
|
|
|
|

|
|
|
#2 |
|
Prancercise Guru
|
Maybe the lockring between the lower and the tube isn't tight? You need some sort of hook spanner to wind that on.
I had a G&P one on and it was solid.
__________________
Airsoft, where nothing is hurt but feelings. |
|
|

|
|
|
#3 |
|
So i've encountered more problems.. the buffer tube no longer wants to even screw in. I'll have to ask someone to take a look at it.
|
|
|
|

|
|
|
#4 |
|
Is it the G&P crane stock that holds a battery? If so, that buffer tube is designed to go on a body with the buffer tube portion cut down. If the piece coming from the body is too long, the buffer will not tighten down correctly. You have to cut the body.
__________________
MODT - Magnus Operator Development Team - tu fui ego eris |
|
|
|

|
|
|
#5 |
|
It is the crane stock with the battery. The aeg is g&p though, so i thought it would be compatable.
|
|
|
|

|
|
|
#6 |
|
That would make it easy, but no, you still have to cut it. You should be able to find the info online. You have to leave 2.5 cm or something.
__________________
MODT - Magnus Operator Development Team - tu fui ego eris |
|
|
|

|
|
|
#7 |
|
Here it is:

__________________
MODT - Magnus Operator Development Team - tu fui ego eris |
|
|
|

|
|
|
#8 |
|
Tys
|
If it's brand new, the stock should come with a little picture of what you need to cut it to.
If it's not...here's how you figure it out. On the end of the buffer tube that presses up to the receiver (the front end of the tube)...reach inside and feel around. You'll feel a section that is built up. It might be about an 1" deep, or maybe a bit longer. Try to get a good measurement of how deep that section is. - you can take the washer that the stock screw holds on and drop it into the tube...then use a rod/stick/screw driver/whatever will fit to push into the front of the tube until you just touch the washer. Subtract about about 5mm from that length and write it down. Then put all your sling plates, receiver plates, etc... on the receiver stud...make sure you've got whatever you'll want pinched between the stock tube and the receiver there. Transfer the measurement that you wrote down to the remainder of the receiver stub. Obviously measure from the last plate that you mounted back towards the end of the stub! Cut it there. The stub should be just about 5mm shy of the washer that holds the stock tube on. Cutting it 5mm short gives you (or the next person) the option of taking sling plate off without having to recut the receiver stub again. Now...some receiver stubs have a "flat" bottom...that "flat" is to make enough room so that your wiring can just squeeze through between the bottom of the receiver stub and the inside of the stock pipe. It might be a really tight fit depending on your wiring and the thickness of it's shielding. You might need to file it a bit so the wiring clears. Use some scrap wiring for test fitting, so you're not chewing up the mechbox wiring as you test fit. Some stock tubes have a little channel on the inside...that's for clearance for the wiring too. You might not need to do anything if the stock tube has a channel and the stub is flat. You've got to figure that space out yourself (or get someone to do it for you) Some receiver stubs are round...there's no flat/channel for the wiring. You'll have to cut/file a channel in the bottom of the stub to fit the wiring. You might just need a shallow one if your stock tube has a channel...you might need a deeper one if your stock tube doesn't. You can file the bottom of the stub flat...and you might get enough space to clear. You can also use a dremel cutting tool (a cylinder cutters meant to cut metal). A cutoff wheel is not the right thing to use. With a steady hand you can cut a slot pretty quick...but don't cut all the way through the stock tube. Just enough for the wiring, and leave as much metal as you can for strength. Test fit, test fit, test fit....use scrap wiring until you think you've got it. The thickness of the wiring...and the thickness of shrink wrap is a nice touch. NOTE: SINN's a champ with the clutch picture installation! Last edited by m102404; November 5th, 2009 at 11:39.. |
|
|

|
|
|
#9 |
|
MrChairsoft
|
I purchased mine brand new back in February or so , and it didnt come with the diagram, it instead came with installation instructions for their GP30. Sinn actually helped me out by emailing me that same picture.
|
|
|

|
|
|
#10 |
|
Thanks a lot guys, very helpful. Now I just need to figure out how I'm going to cut it...
|
|
|
|

|
|
|
#11 |
|
Not Eye Safe, Pretty Boy Maximus on the field take his picture!
|
Also It's rare but I've seen it on another gun, the plate that slides on before the buffer tube could be bent, and the receiver may not be flat at the back, make sure its flat. I shimmed both sides and got rid of the wobble
|
|
|

|
|
|
#12 | ||
|
Quote:
Probably wan't the best method, but the outcome was fine, I used a clamp, and got a clean cut.
__________________
Quote:
Chinese proverb
|
|||
|
|

|
|
|
#13 |
|
Update:
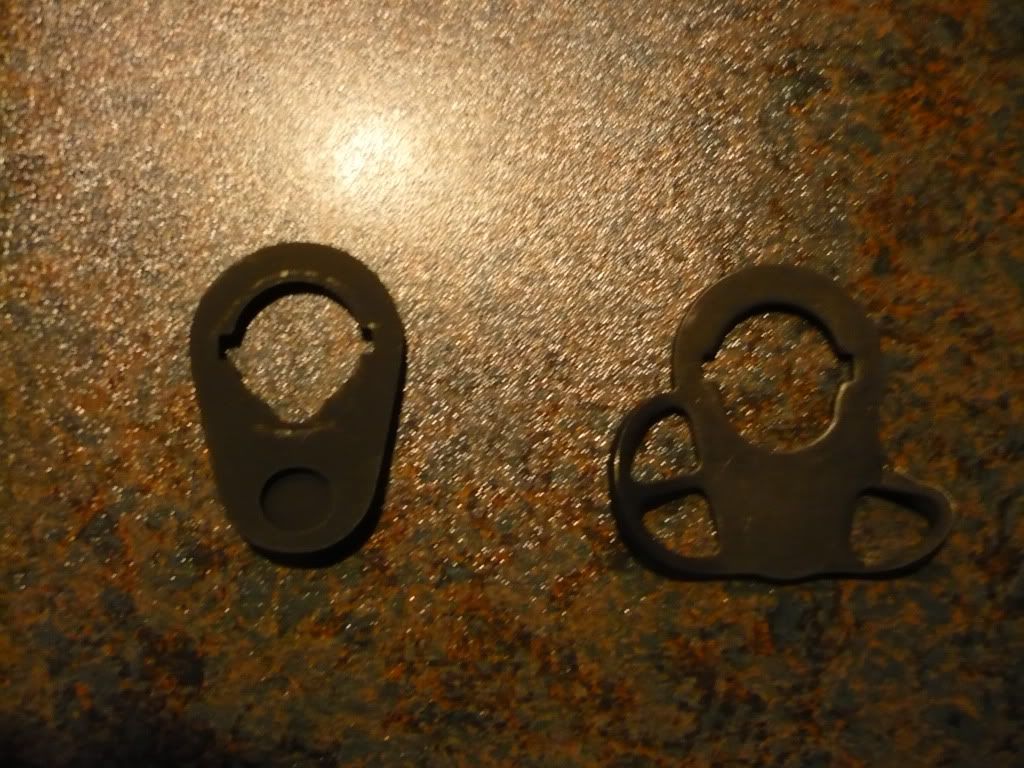
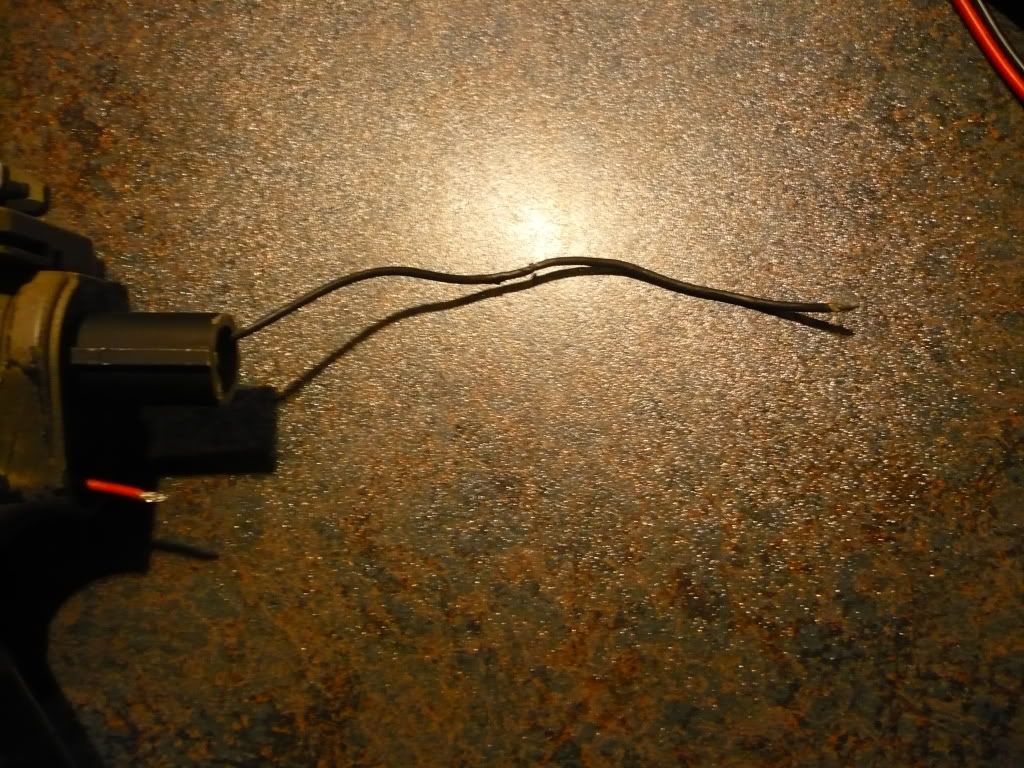
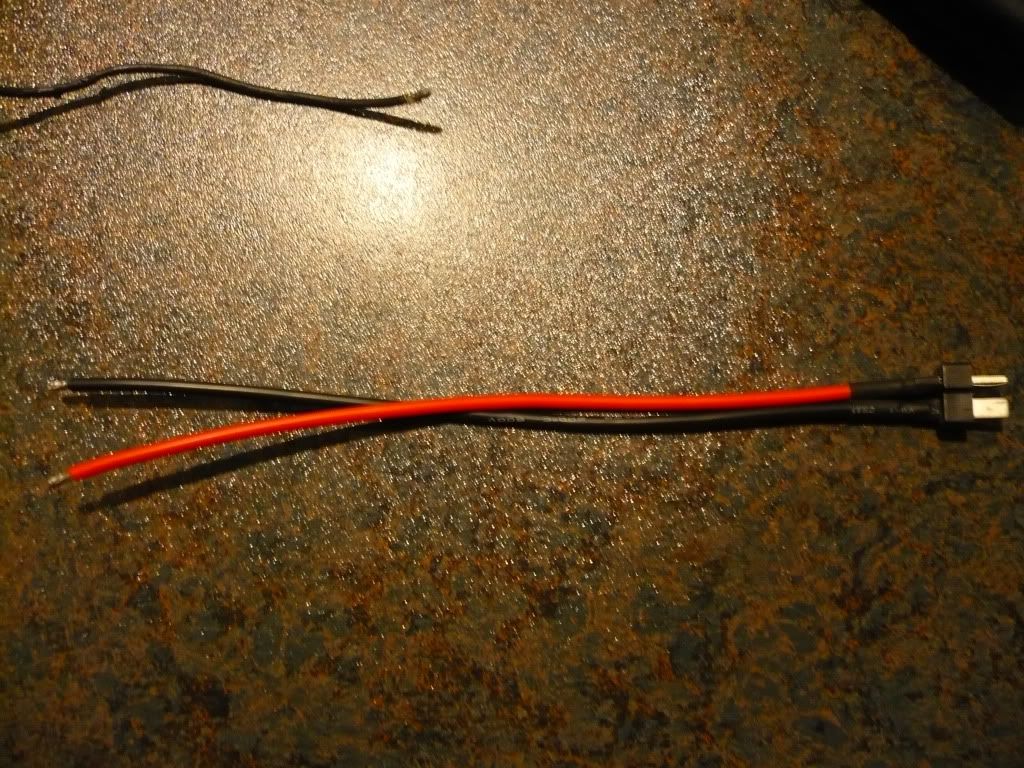
I cut down the piece to 3cm as recommended in the manual. The buffer tube can now be installed, but it still has some wobble. SO first question.. I don't know what the piece on the left is called, but am I supposed to remove this piece, and just use the sling mount in its place?  If so, then ill remove it and just keep the sling mount on.. and that will answer the buffer tube wobble question. Next question. The red wire (shown in pic) snapped in the process... and is now too short to be fed up and out of the tube so I can attach the new battery wires.  Will it be okay if I just take some red wire from the older battery wire that was originally there and use it to splice onto the short red piece shown in the picture so it can be fed through like the black wire? Last question, can these new wires (shown in pic below) that came with the battery be spliced onto the existing wires, or do I have to crack open the mech box and solder them. (I've never opened a mech box, and would rather not).  Thanks |
|
|
|

|
|
|
#14 |
|
Yes, you can splice and solder up wires however you want, just make sure you do a good job of it.
Oh yeah, and red goes to red, black goes to black 
|
|
|
|

|
|
|
#15 |
|
Haha, yeah... I would have never figured that out! I'll splice them, they don't need to be soldered as well though correct?
|
|
|
|

|
  |
|
||||||
| Bookmarks |
| Thread Tools | |
|
|
 |